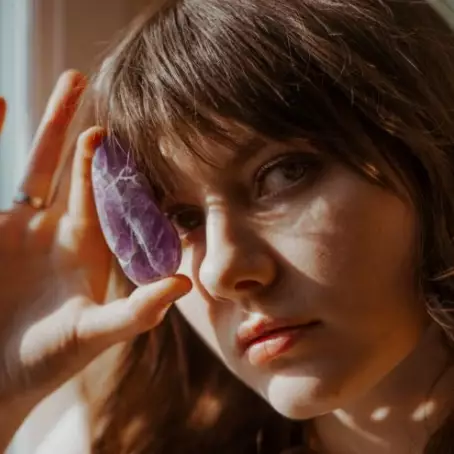
I still remember the first time I tried to test a crystal's hardness. I grabbed a quartz point and scratched it against a piece of glass. The glass won. My quartz didn't. Turns out I had the wrong piece—that was calcite, not quartz. That mistake cost me a specimen and taught me a lesson: how to test crystal hardness isn't just about scratching stuff. It's about knowing the tools, the scale, and the tiny details that separate a clean test from a ruined crystal.
This guide is what I wish I had back then. No fluff. Just the methods I've refined over a decade of collecting and identifying crystals in the field.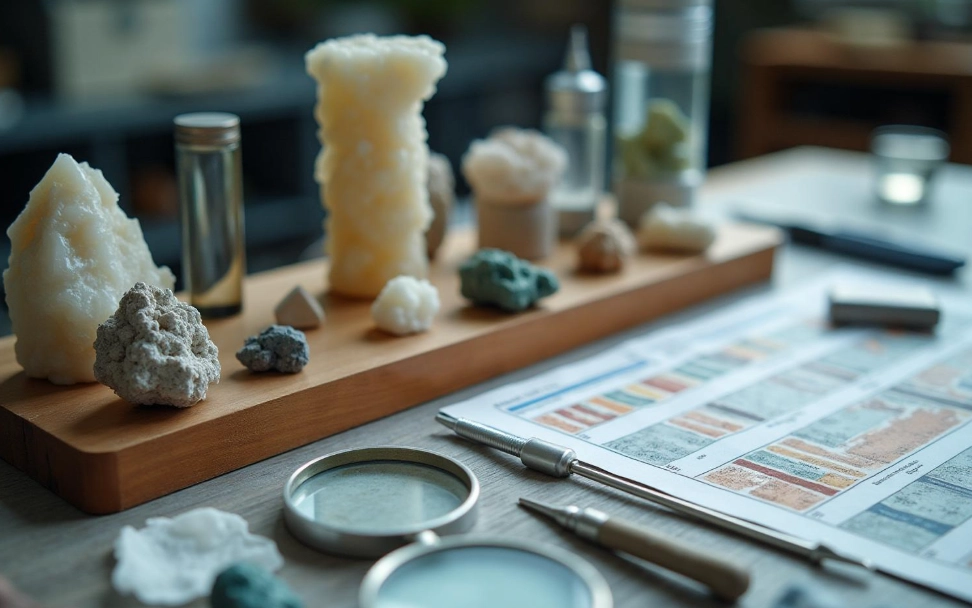
Why Hardness Testing Matters (And Why You Should Care)
Hardness tells you a lot more than "will this scratch." It's a window into a crystal's identity. Two specimens can look identical—same color, same luster—but one scratches glass and the other doesn't. That single difference can mean the gap between quartz and fluorite, or between topaz and feldspar.
For collectors, hardness is also a practical survival tool. If you know a crystal sits at 3 on the Mohs scale, you won't toss it in a bag with harder stones. I've seen people ruin a beautiful rhodochrosite cluster because they stored it next to quartz points. Hardness testing is your first line of defense against accidental damage.
Mohs Scale Basics You Can't Skip
The Mohs scale is a relative ranking from 1 (talc) to 10 (diamond). It's not linear—diamond is about four times harder than corundum (9), not just 10% harder. But for field testing, the scale is your best friend.
Here's the cheat sheet I keep in my pocket:
| Hardness | Reference Mineral | Common Test Tool | What It Can Scratch |
|---|---|---|---|
| 2–2.5 | Gypsum, fingernail | Your fingernail | Nothing harder than talc |
| 3 | Calcite | Copper coin | Fingernail |
| 4–5 | Fluorite, apatite | Steel nail or knife blade | Copper coin, fingernail |
| 5.5 | Glass (standard window) | A glass bottle | Steel nail, copper coin |
| 6 | Feldspar, pyrite | Steel file | Glass, steel nail |
| 7 | Quartz | Quartz point | Glass, steel, feldspar |
| 8–9 | Topaz, corundum | Corundum file | Quartz, glass |
| 10 | Diamond | Diamond file | Everything else |
Notice the gaps. A steel nail sits around 5.5, so if a crystal scratches it, you're looking at hardness 6 or higher. The tool matters as much as the crystal.
Practical Tests I Actually Use (From Least to Most Destructive)
1. The Fingernail Test (Start Here)
Your fingernail has a hardness of about 2.5. If a crystal can't be scratched by your nail, it's harder than 2.5. That immediately rules out talc and gypsum. I use this first because it's zero-risk. If the crystal is soft, I know not to use harder tools. If it survives, I move on.
2. The Copper Coin Test
A standard copper coin (like a US penny) rates around 3 to 3.5. If the crystal scratches the coin, its hardness is above 3. If the coin scratches the crystal, you're dealing with something softer than 3. I've found this test surprisingly reliable for distinguishing calcite (3) from fluorite (4). Just don't use a coin you care about.
3. The Glass Scratch Test
Glass has a hardness of 5.5. This is the sweet spot for many common crystals. Quartz (7) will scratch glass. Fluorite (4) won't. Feldspar (6) will barely leave a mark. The trick is to use an inconspicuous edge of the crystal and a glass surface you don't mind scratching—like an old bottle. Press firmly and drag once. A faint white line means the crystal is harder than glass.
4. The Steel File Test
A steel file sits around 6.5. If a crystal scratches the file, it's likely quartz or harder. This test is aggressive. I only use it on rough specimens I've already identified visually. For softer crystals, the file will leave a metallic streak, not a scratch—that's a sign of hardness below 6.
5. Using Mohs Hardness Picks
If you're serious about testing, invest in a set of Mohs hardness picks. They're small metal rods with tips of known hardness (2 through 9). You try to scratch the crystal with a pick of a given hardness. If the pick scratches the crystal, the crystal is softer. If not, it's harder. This is the most precise field method short of a lab test. I bought my set five years ago and it's paid for itself in avoided misidentifications.
A Real Case: Testing a Fluorite Specimen (And What Went Wrong)
Last spring, a friend handed me a purple crystal she found in a riverbed. She thought it was amethyst. I thought it was fluorite. The color was right for both. So I ran a test.
First, fingernail: no scratch. So hardness > 2.5. Copper coin: the coin scratched the crystal. That put it at 3–4. Glass test: the crystal did not scratch the glass. So hardness
The mistake? I started with the copper coin on a visible face. It left a tiny, permanent mark. If I had used an inconspicuous edge first, the damage would have been hidden. Lesson learned: always test on the underside or a rough edge. Never test on a display face.
Common Mistakes to Avoid When Testing Crystal Hardness
- Using a steel nail on a soft crystal: A steel nail (5.5) will gouge anything softer than 5.5. If you're not sure, start with your fingernail.
- Testing a polished surface: Polished crystals can behave differently. A polished fluorite might seem harder because the surface is slick. Test on a rough break instead.
- Forgetting that hardness is directional: Some crystals (like kyanite) have different hardness on different faces. Test multiple spots.
- Skipping the visual check: Hardness alone doesn't identify a crystal. Combine it with luster, cleavage, and streak color. For example, calcite (3) and halite (2.5) both scratch with a fingernail, but halite tastes salty.
- Using a glass surface that's already scratched: You can't tell a new scratch from an old one. Use a fresh glass surface.
FAQ: Crystal Hardness Testing
You don't need a lab to figure out crystal hardness. You need a fingernail, a coin, a glass bottle, and the willingness to start soft. That's the whole game. Test on the edge. Combine hardness with other clues. And when in doubt, leave it alone—sometimes the best test is the one you don't perform.
This article was fact-checked against the Mohs scale and field-testing practices from the Gemological Institute of America's educational resources.
Leave a Comment